Top 6 Open Source Disk Cloning and Imaging Softwares
#1: Old good dd command
The dd command allows you to make the low-level copying and conversion of data in raw format. It copies the standard input to the standard output. It can also be used for backing up the boot sector (MBR) of a hard drive or destroy data using /dev/zero or /dev/random.
Examples
To clone /dev/sdb3 partition to another partition
called /dev/sdc3, enter:# dd if=/dev/sdb3 of=/dev/sdc3 bs=4096
conv=noerror
You can clone a hard disk /dev/sdc to /dev/sdd:
# dd if=/dev/sdc of=/dev/sdd bs=1M conv=noerror
You can duplicate a disk partition called /dev/sda1 as a
disk image file called backup.sda1.mm.dd.yy.img file:# dd if=/dev/sda1
of=/path/to/safe/location/backup.sda1.07.28.12.img
bs=4096 conv=noerror
OR# dd if=/dev/sda1
of=/nfs/backup/images/backup.sda1.07.28.12.img bs=1M
conv=noerror
To restore an image, run:# dd
if=/nfs/backup/images/backup.sda1.07.28.12.img
of=/dev/sda1 bs=1M conv=noerror
The dd command can make backup of any partition
regardless of an operating system. You can use it with
FreeBSD / OpenBSD / Mac OS X / MS-Windows and so on:
Say hello to ddrescue
The
ddrescue command copies data from one file or block
device to another, trying hard to rescue data in
case of read errors. The dd command will fail but
ddrescue will continue:# ddrescue /dev/sda /dev/sdb
#2 partimage - Backup partitions into a compressed image file
The partimage command backs up disk partitions into
image files and restores them (much like Ghost). You can
use the
apt-get command under Debian / Ubuntu Linux to
install the same:# apt-get install partimage
If you are using RHEL / Fedora / SL / Red Hat / CentOS
Linux,
turn on EPEL repo and type the following
yum command:
# yum install partimage
Type partimage as follows to see various options:
# partimage
Sample outputs:
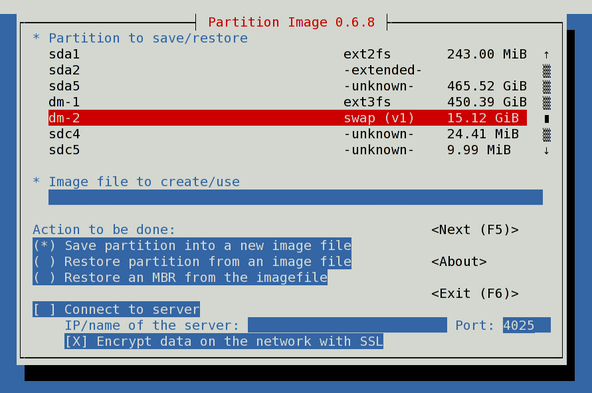
Fig.01: partimage in action
You can now follow on screen instructions to backup or restore images.
Examples
Create an image of /dev/sda2 (make sure /dev/sda2 is
not mounted):# partimage -z1 -o -d save /dev/sda2
/nfs/backup/laptop.wks01.sda1.home_07_08_2012.gz
You can restore it as follows:
# partimage restore /dev/sda2
						/nfs/backup/laptop.wks01.sda1.home_07_08_2012.gz.000
See how to use this fast software to backup and restore
images:
Please note that partimage will only copy data from the used portions of the partition. This is done for speed and efficiency, free blocks are not written to the image file. Since the partition is processed on a sequential sector basis disk transfer time is maximized and seek time is minimized.
A note about server software
Partitions can be saved across the network using the partimage network support, or using Samba / NFS (Network File Systems). This provides the ability to perform an hard disk partition recovery after a disk crash. You need to install partimage-server package which provides server daemon for remote imaging, much like Ghost. See documentation for more info.
#3: Clonezilla
If you are looking to replace Norton Ghost Corporate Edition, try Clonezilla. It provides the following features:
- Disaster recovery
- Disk cloning
- Disk imaging
- Deployment solution
- Free and Open source
This software allows you to do bare metal backup and recovery. Clonezilla works in any one of the following mode:
- Clonezilla live - Use this at home or for single machine backup and restore.
- Clonezilla server edition - Use this at office or data center for massive deployment, it can clone many (40 plus!) computers simultaneously. Clonezilla saves and restores only used blocks in the harddisk. This increases the clone efficiency.
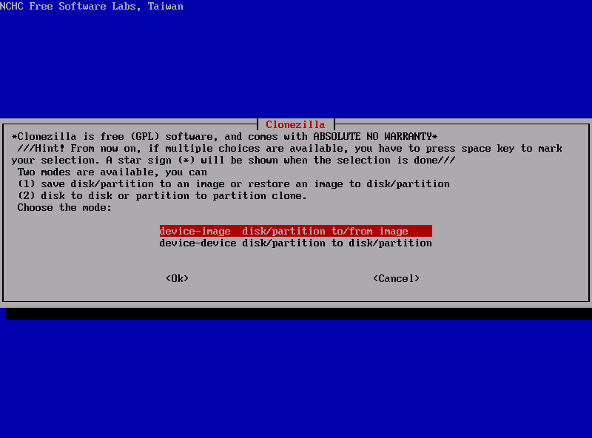
Fig.02: Clonezilla in action
=> Download clonezilla software.
#4 Mondo rescue
Another good free disaster recovery software that I use frequently. It works with Linux /FreeBSD and supports clone tapes, disks, USB devices, network and CD/DVD as backup media, multiple filesystems, LVM, software and hardware RAID. Restoration may be done from a physical media including OBDR tape support, or CD/DVD/USB media, or from the network through PXE.
This software used by Lockheed-Martin, Nortel Networks, Siemens, HP, IBM, NASA's JPL, the US Dept of Agriculture, dozens of smaller companies, and tens of thousands of users around the world.
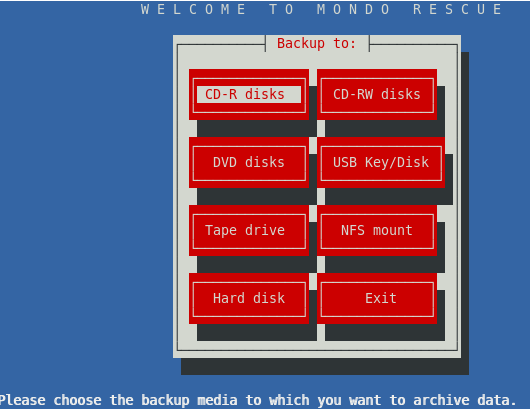
Fig.03: Mondo Rescue in action
=> Download Mondo Rescue software.
#5 Redo backup and recovery
Redo backup and recovery is a free backup and disaster recovery software. It runs from a bootable Linux CD image, features a GUI, and is capable of bare-metal backup and recovery of disk partitions. It can use external hard drives and network shares. It is the simplest point and click open source backup and recovery solution available. You can store images on an external drive or network shares such as nfs based shared folders.
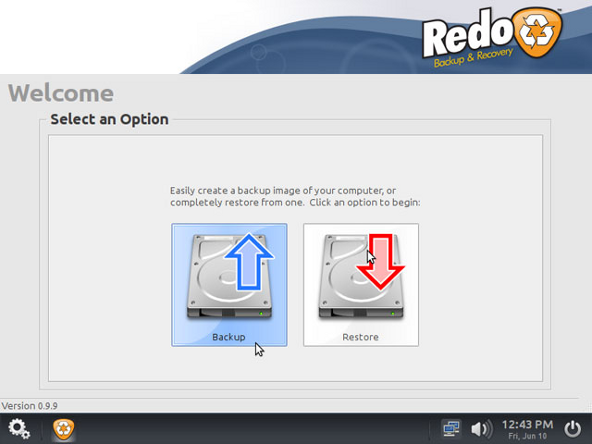
Fig.04. Redo backup and recovery software in action
=> Download redo backup and recovery software.
#6 Trinity Rescue Kit
Trinity Rescue Kit or TRK is a free live Linux distribution that aims specifically at recovery and repair operations on MS-Windows systems, but is equally usable for Linux recovery issues such as as rescue, repair, password resets and disk cloning. Some features:
- Reset windows passwords with the improved winpass tool.
- 5 different virusscan products integrated in a single uniform commandline with online update capability.
- Full ntfs write support thanks to ntfs-3g
- Winclean, a utility that cleans up all sorts of unnecessary temporary files on your computer.
- Clone computers over the network via multicast.
- Contributed backup utility called "pi", to automate local machine backups
- Easy script to find and mount all local filesystems
- Recovery and undeletion of files with utilities and procedures
- Recovery of lost partitions
- Evacuation of dying disks
- 2 rootkit detection uitilities
- And much more
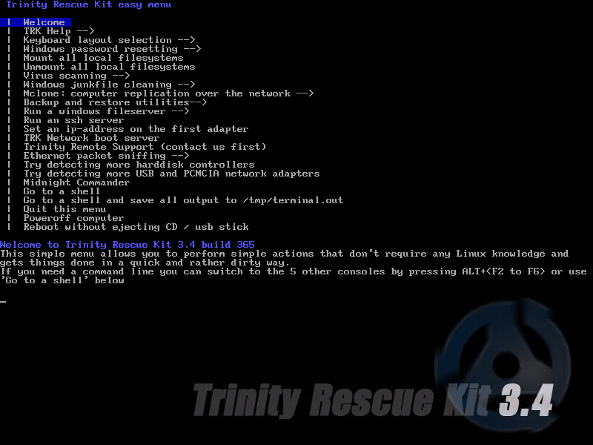
Fig.05Trinity Rescue Kit in action
=> Download trinity rescue kit software.
My favorite software
For bare metal restore I prefer dd command (gziped images) as it includes copy of the boot sector, boot partition and the root partition. The dd command works well for small setup or home users. But, for a large setup and data center, I prefer to use either clonezilla or mondo rescue softwaee due to ease of use and reliability.
Have a favorite open source disk cloning and disaster recovery software? Got an alternative? Let us know your preferred app in the comments below.